I wash my outdoor cushion covers once a year. I would do it more often, except the covers are really hard to remove from the cushion so I can't be bothered to do it more often. Plus I know I can get them clean again even though they look terrible at the end of the seaon. I'm sure there are many ways to wash these things but I'll tell you what I do because it has worked for me.
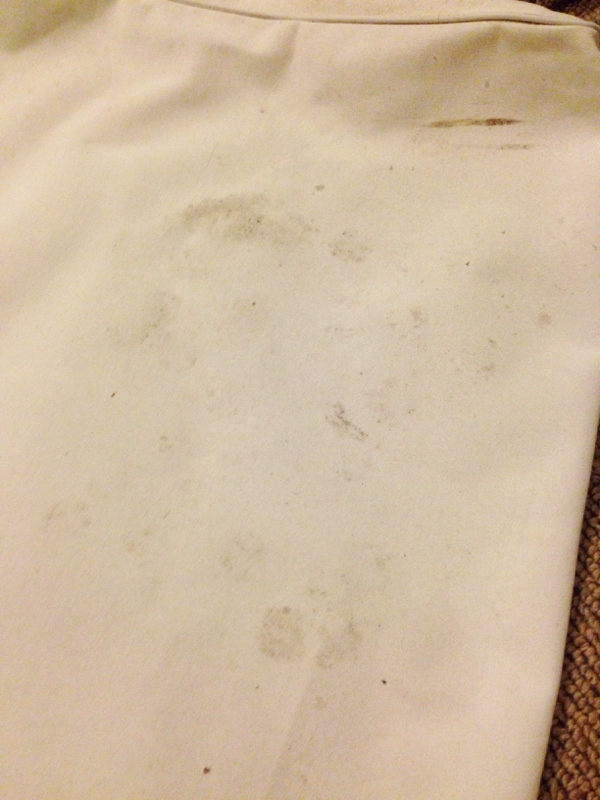
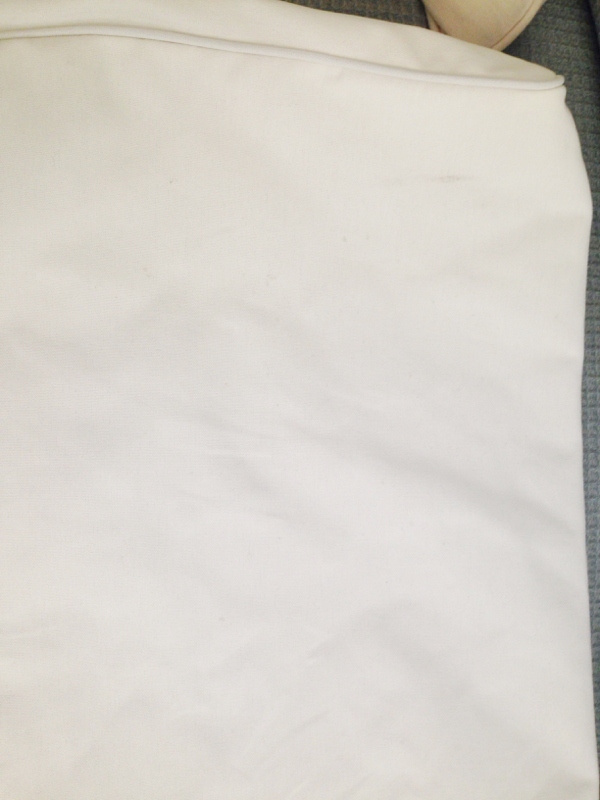
So, here's one of my super dirty, bird-pooped, sitting-out-in-the-elements-for-a-year cushion cover.
So, here's one of my super dirty, bird-pooped, sitting-out-in-the-elements-for-a-year cushion cover.
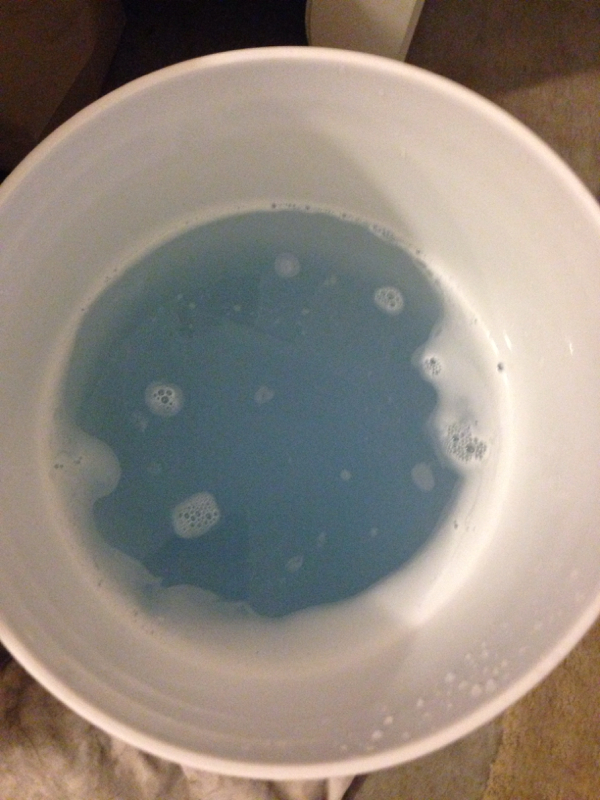
I pour some warm water into a bucket and add some laundry detergent and a few caps of bleach. I never measured how much of what goes in and I've never gotten different results, so just eye-ball it. It'll be fine.
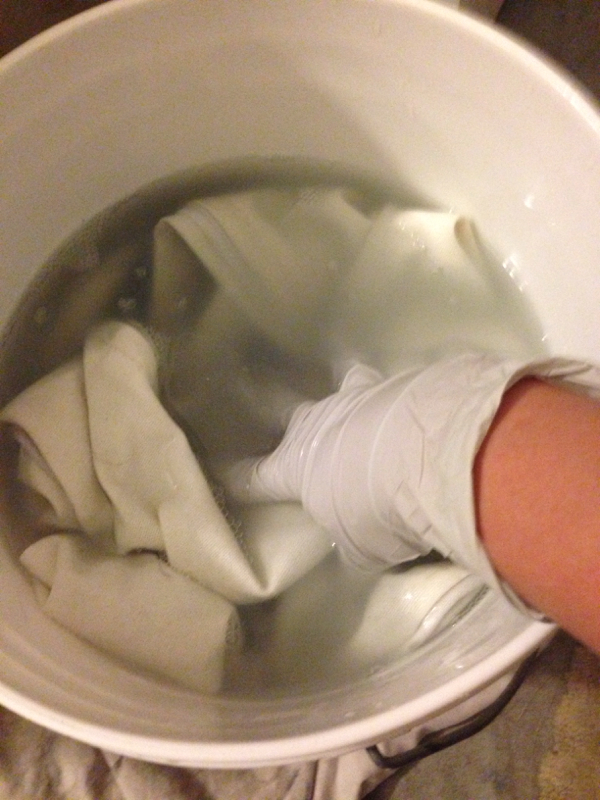
Then I dunk the entire cover into the warm water. I usually dunk the dirtiest part in first because I somehow believe it'll turn out cleanest. :) I'm sure there is no scientific basis for that, but do whatever makes you happy. Make sure the entire cover is soaked thoroughly and immersed in the detergent.
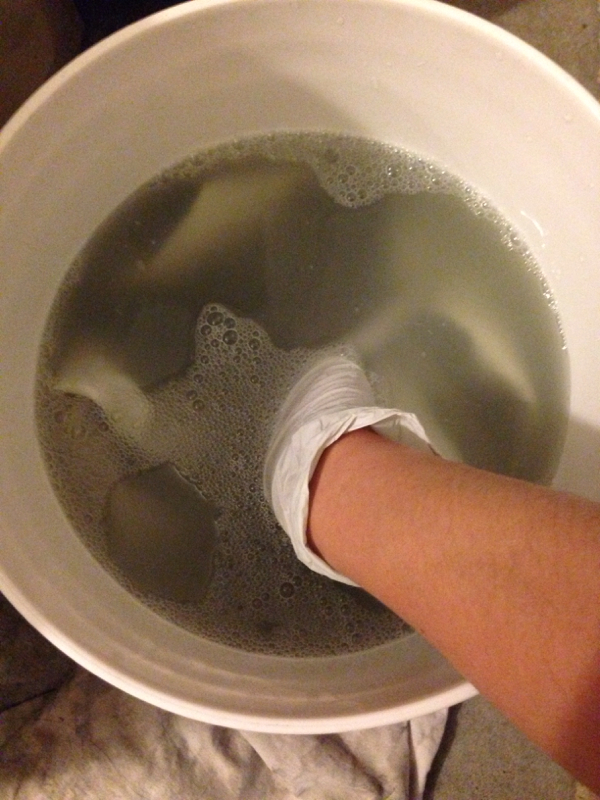
I usually dunk the cover in and out of the water a few times. And pretty soon the water is filthy, which makes me happy! I then leave the cover submerged in the water for a few hours before throwing it into the washer.
And ta-da! Here is that same cushion again after wash! Granted, there is a very faint black mark across the top there (can you see it?), but it is almost as clean as new!
And that concludes the simple and rewarding job of washing a cushion cover. :) The end.


 RSS Feed
